How To Integrate Google Analytics in React 2022
Google Analytics is a powerful tool for tracking and analyzing online traffic. In this article, we gonna learn how to integrate google analytics in react application step by step.
1. Go to https://analytics.google.com

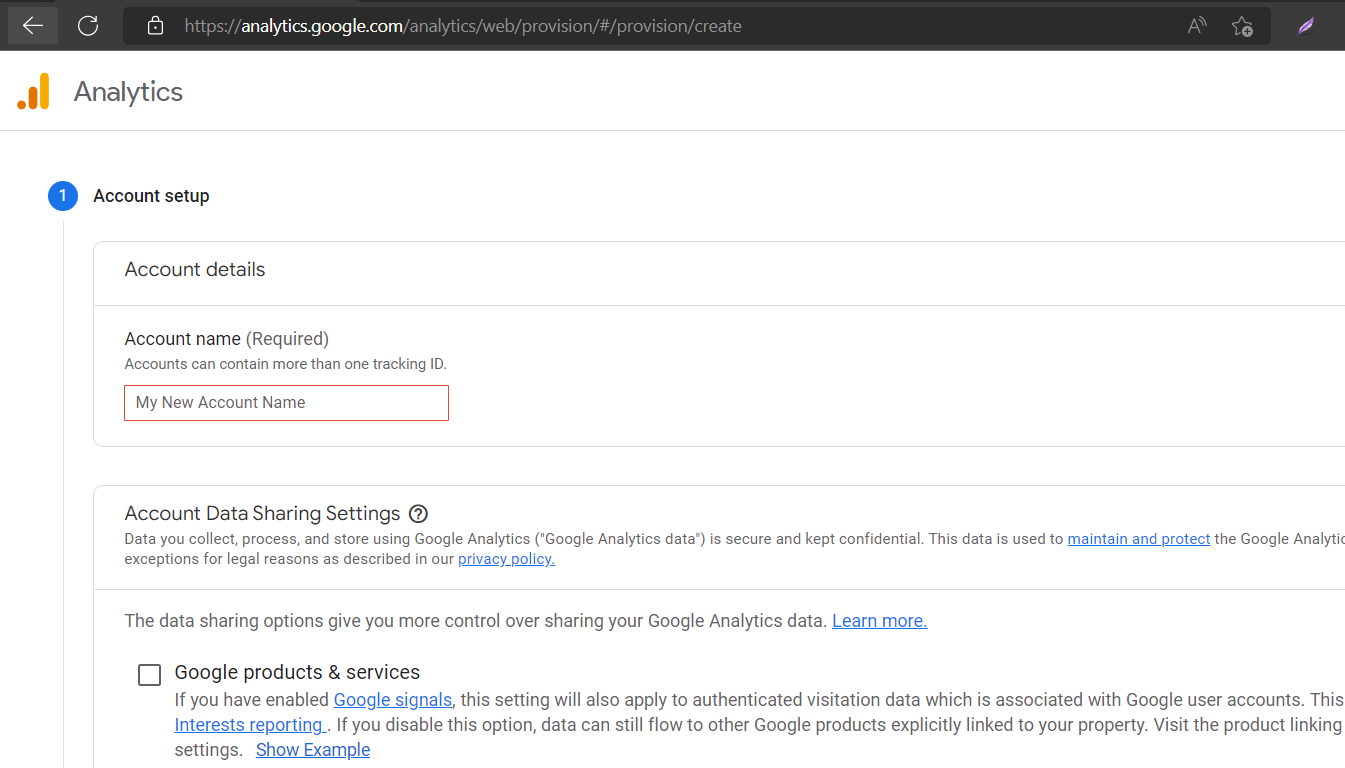
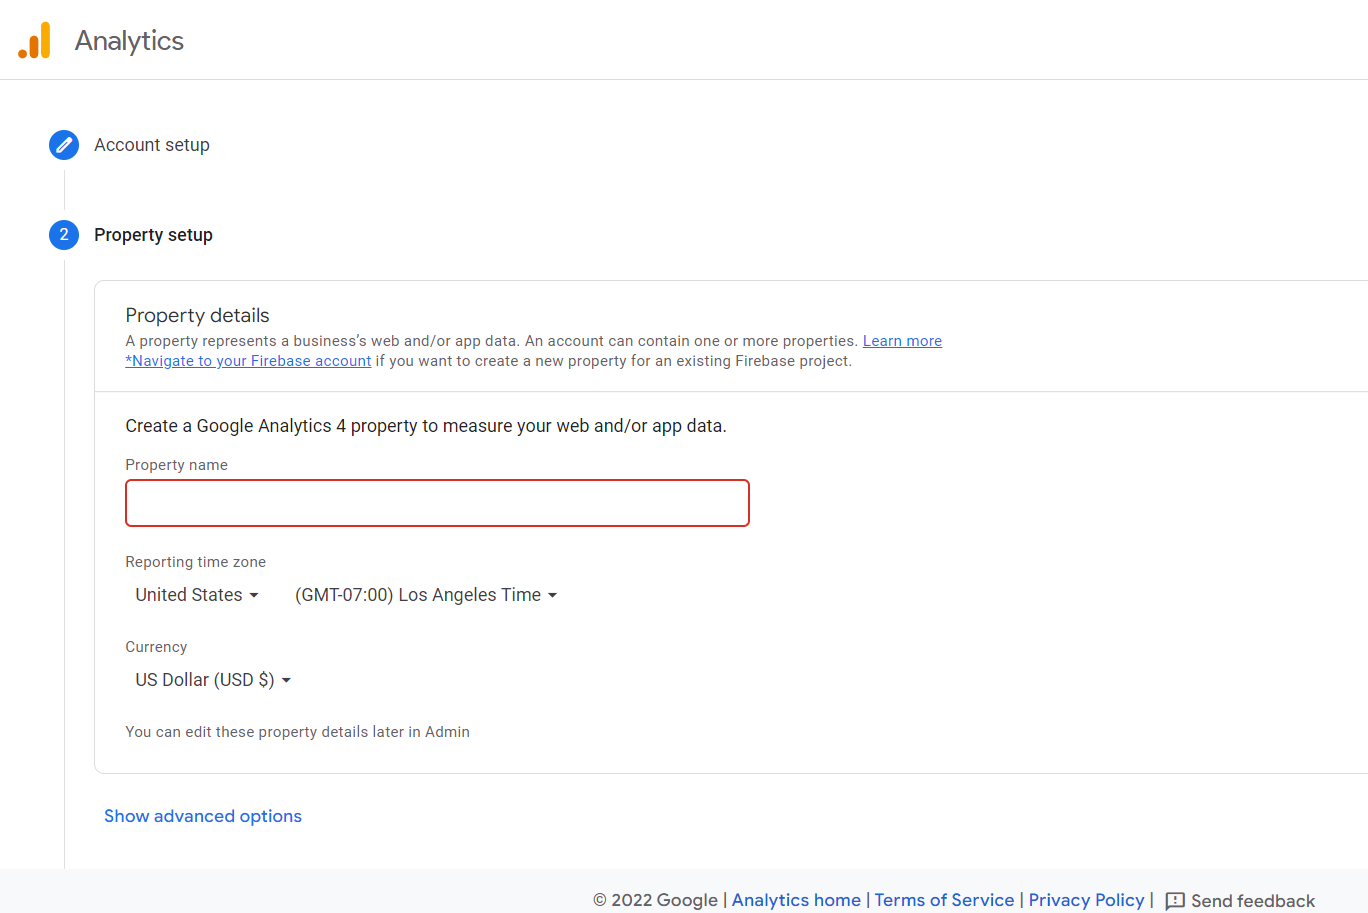
2. Create an account and property.
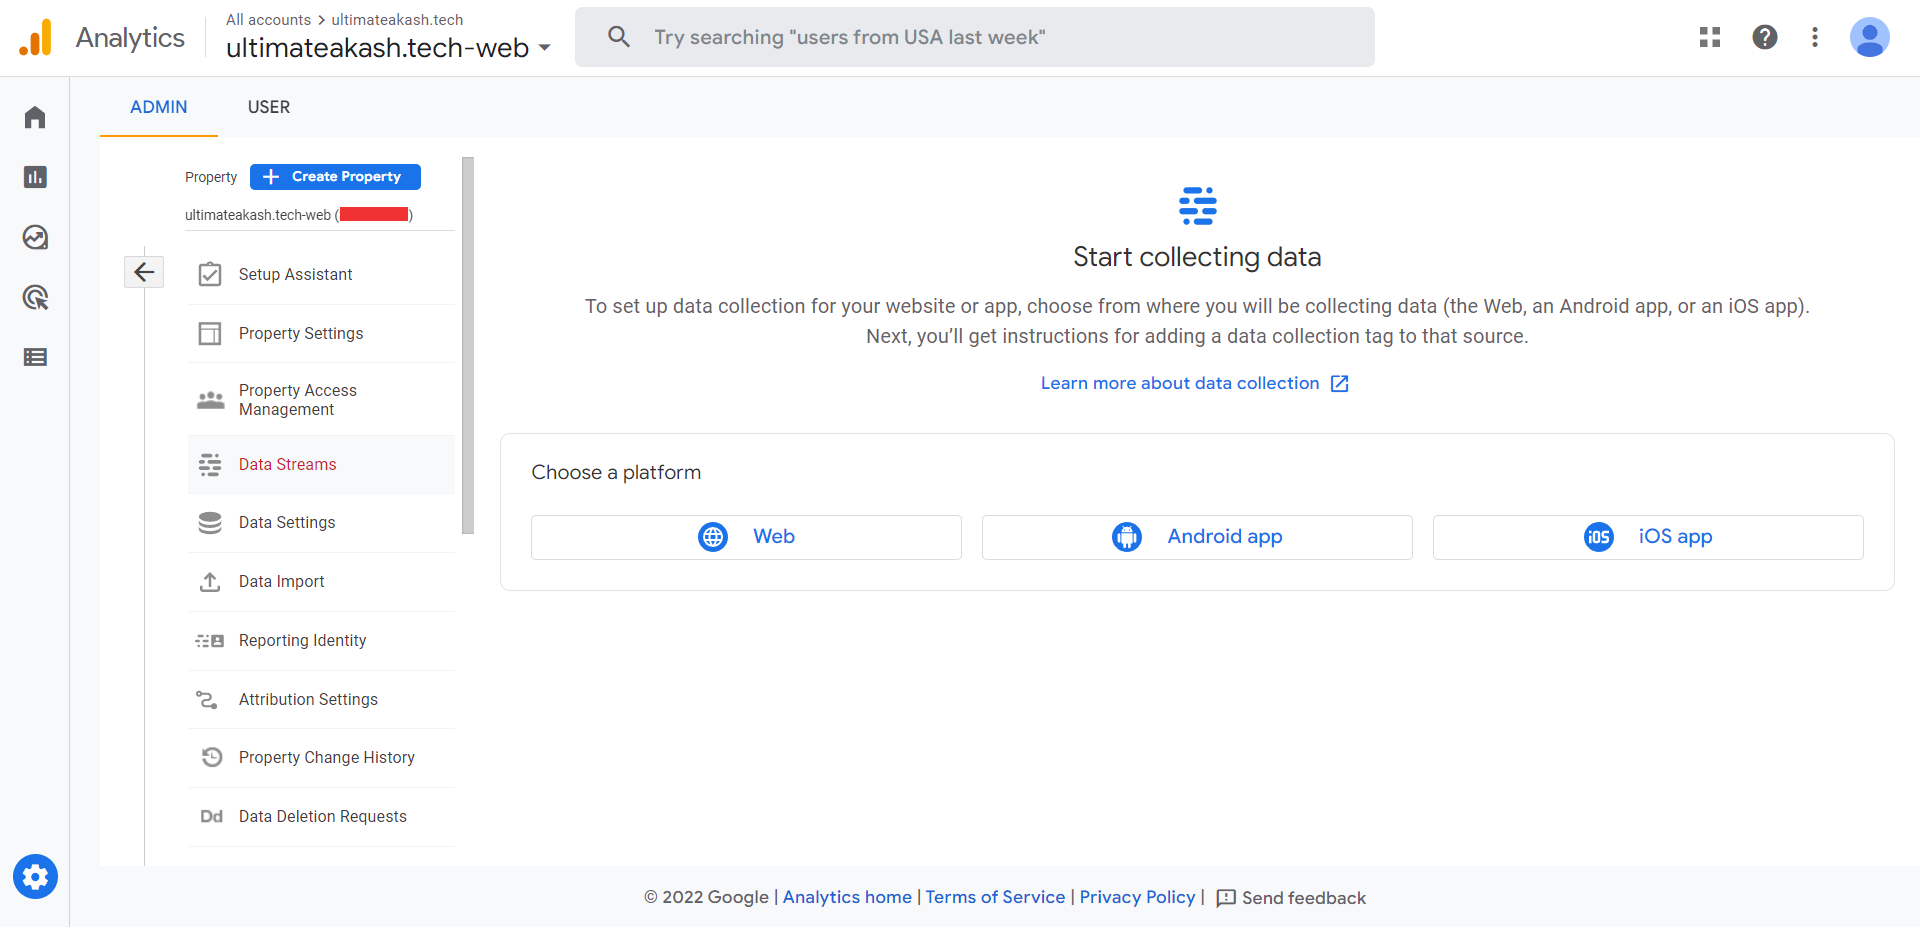
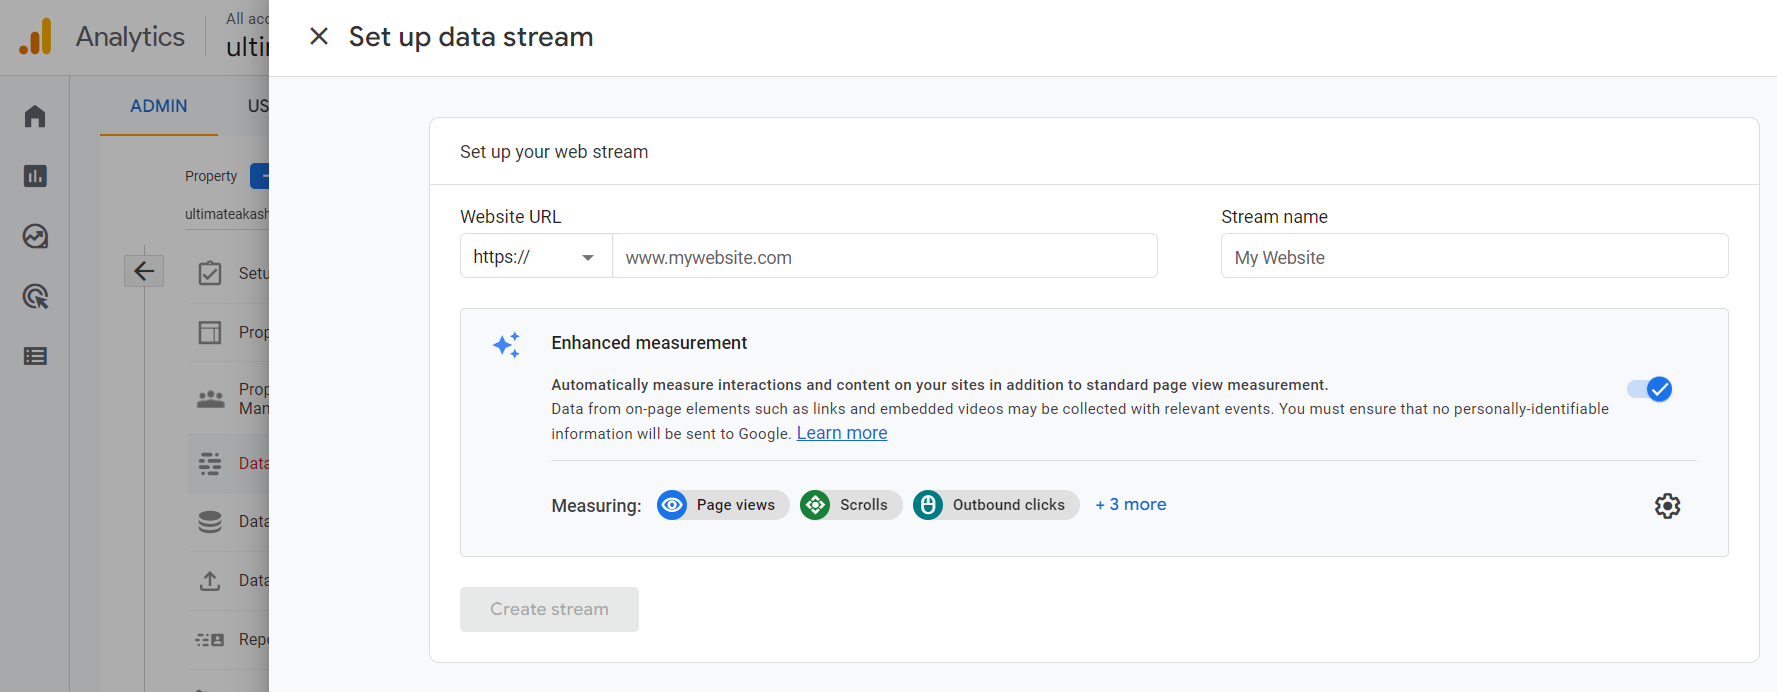
3. Create a data stream.
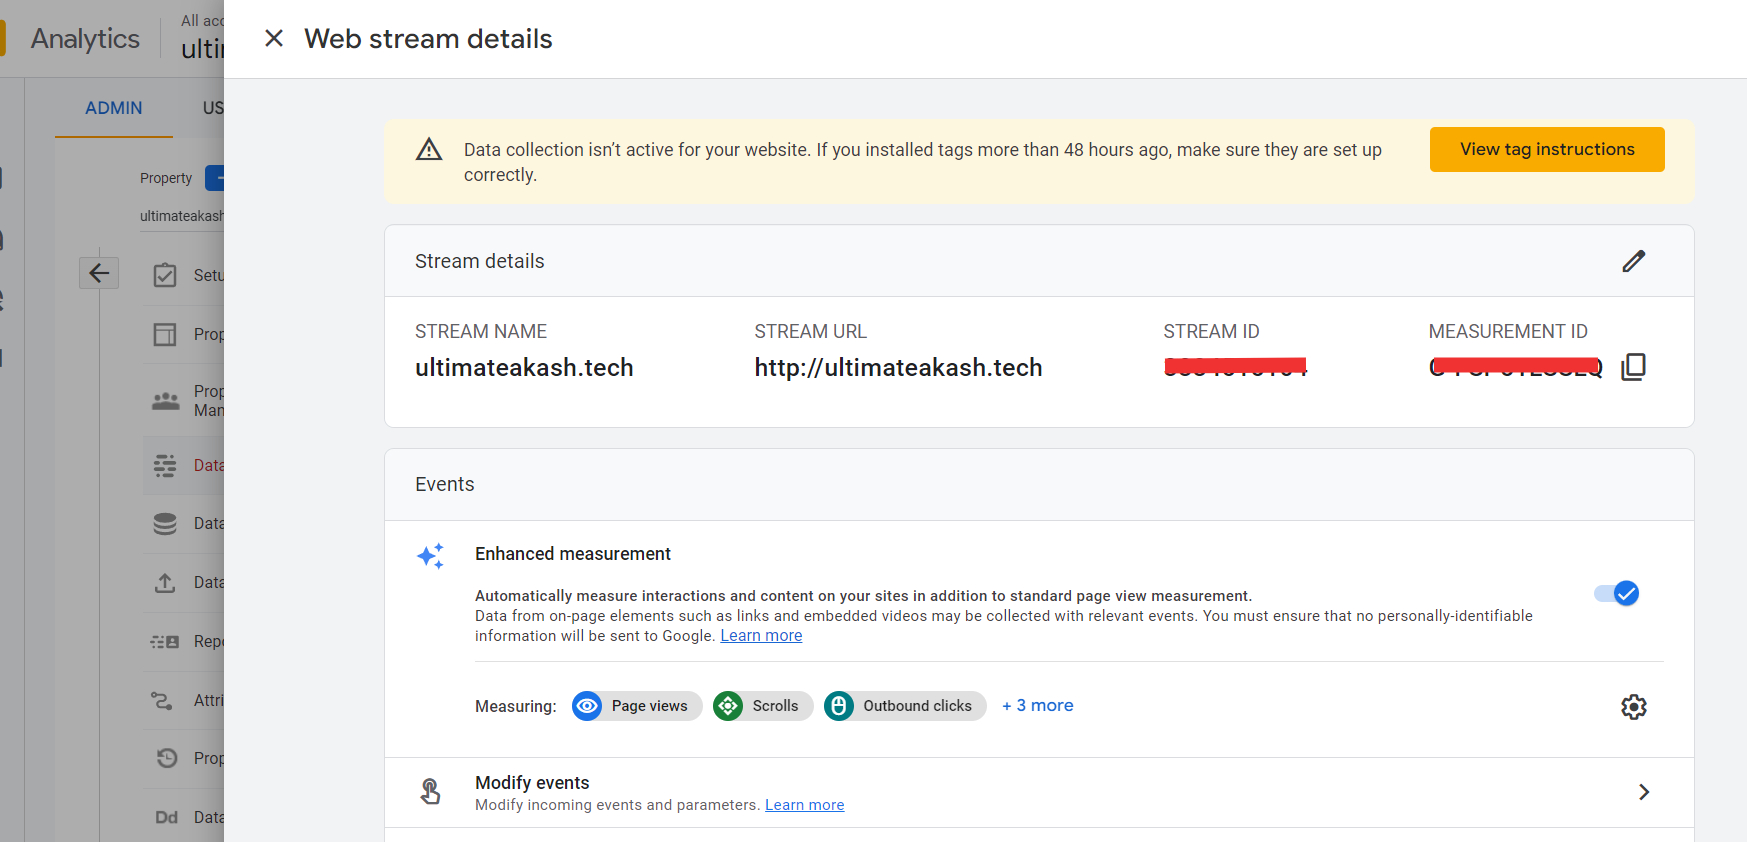
4. Click on view tag instructions
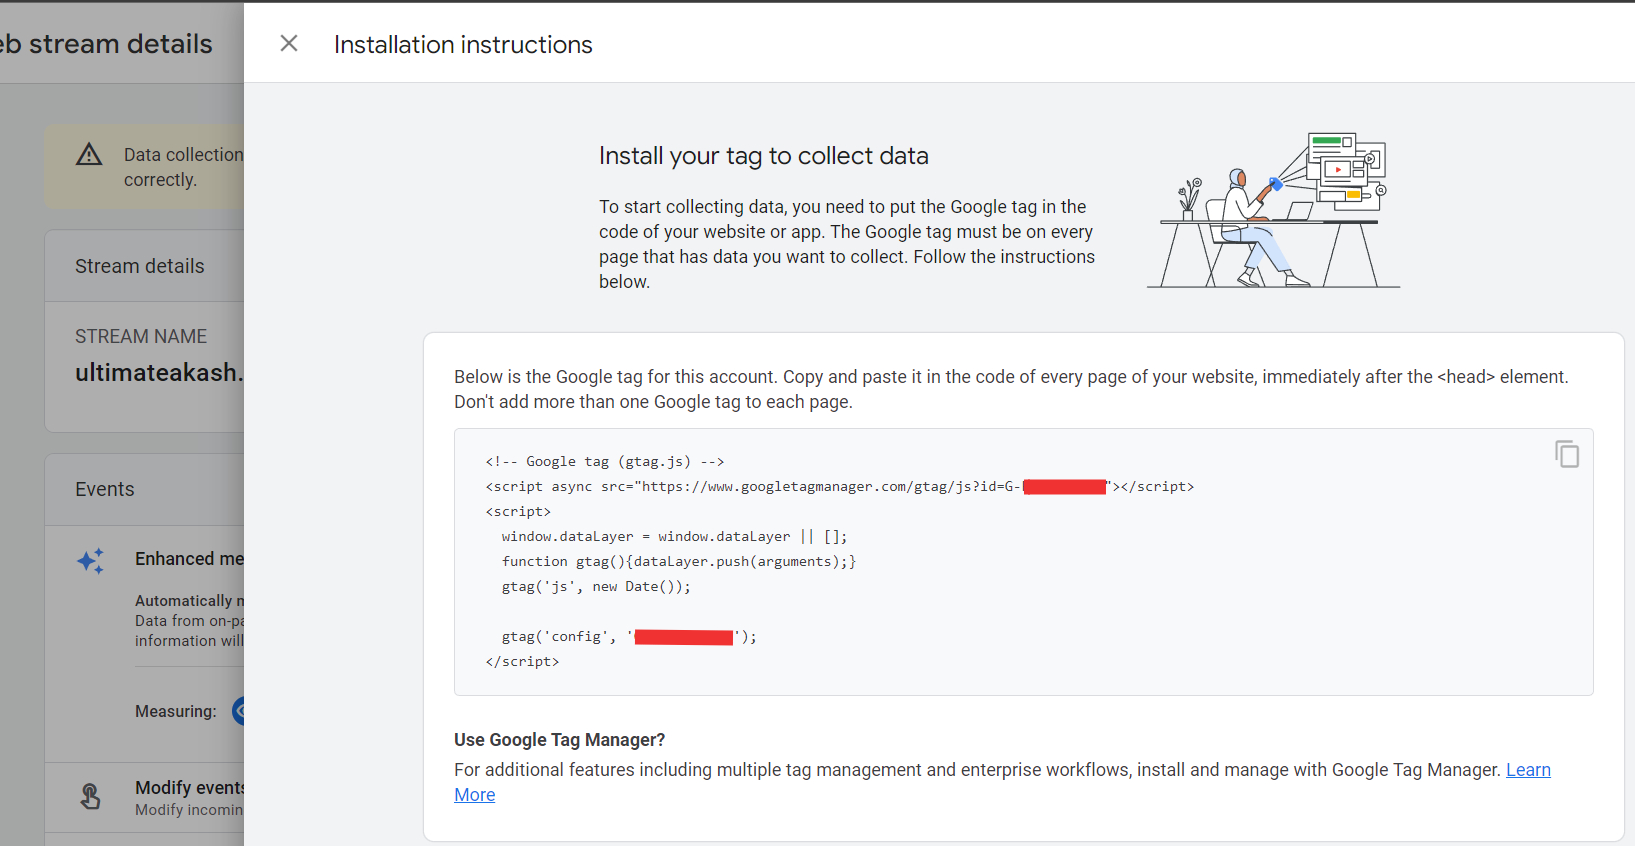
next, we need to add the above code in our react application.
5. Open index.html of your react project and add google tag code(step 4)
<!DOCTYPE html>
<html lang='en'>
  <head>
    <meta charset='utf-8' />
    <link rel='icon' href='%PUBLIC_URL%/favicon.ico' />
    <meta name='viewport' content='width=device-width, initial-scale=1' />
    <meta name='theme-color' content='#000000' />
    <meta name='description' content='Web site created using create-react-app' />
    <link rel='apple-touch-icon' href='%PUBLIC_URL%/logo192.png' />
    <link rel='manifest' href='%PUBLIC_URL%/manifest.json' />
    <title>Demo App</title>
    <link rel='icon' type='image/x-icon' href='favicon.ico'>

    <!-- Google tag (gtag.js) -->
    <script async src='https://www.googletagmanager.com/gtag/js?id=G-XXXXXXXXXX'></script>
    <script>
      window.dataLayer = window.dataLayer || [];
      function gtag() { dataLayer.push(arguments); }
      gtag('js', new Date());

      gtag('config', 'G-XXXXXXXXXX');
    </script>

  </head>
  <body>
    <noscript>You need to enable JavaScript to run this app.</noscript>
    <div id='root'></div>
  </body>
</html>
6. Install react-router-dom and prop-types
npm i react-router-dom
After completing the installation open index.js and import the BrowserRouter component and wrap it around the App component.
import React from 'react';
import ReactDOM from 'react-dom';
import './index.css';
import App from './App';
import reportWebVitals from './reportWebVitals';
import { BrowserRouter } from 'react-router-dom';

ReactDOM.render(
  <React.StrictMode>
    <BrowserRouter>
      <App />
    </BrowserRouter>
  </React.StrictMode>,
  document.getElementById('root')
);

// If you want to start measuring performance in your app, pass a function
// to log results (for example: reportWebVitals(console.log))
// or send to an analytics endpoint. Learn more: https://bit.ly/CRA-vitals
reportWebVitals();
npm i prop-types7. Create RouteMiddleware.
import { useEffect } from 'react';
import PropTypes from 'prop-types'
import { Route, useLocation } from 'react-router-dom';

const RouteMiddleware = ({ path, component: Component, title, ...rest }) => {
    const location = useLocation();

    useEffect(() => {
        window.gtag('event', 'page_view', {
            page_title: title,
            page_path: location.pathname + location.search,
            page_location: window.location.href
        })
    }, [location]);

    return <Route
        {...rest}
        path={path}
        render={props => <Component title={title} {...props} />}
    />
}

RouteMiddleware.propTypes = {
    path: PropTypes.string.isRequired,
    component: PropTypes.any.isRequired,
    title: PropTypes.string.isRequired,
    exact: PropTypes.bool
}

export default RouteMiddleware;
In the above code, we are calling gtag function on route change.
8. Create a few components and add routing.
import { Switch, Link } from 'react-router-dom'
import { AboutUsComponent, ContactUsComponent, HomeComponent, NotFoundComponent } from './components';
import RouteMiddleware from './middleware/route-middleware';

function App() {
  const routes = [
    {
      path: '/',
      component: HomeComponent,
      title: 'Homepage',
      exact: true
    },
    {
      path: '/about-us',
      component: AboutUsComponent,
      title: 'About Us'
    },
    {
      path: '/contact-us',
      component: ContactUsComponent,
      title: 'Contact Us'
    },
    {
      path: '*',
      component: NotFoundComponent,
      title: 'Not Found'
    }
  ];

  return (
    <>
      <ul>
        <li><Link to='/'>Home</Link></li>
        <li><Link to='/about-us'>About Us</Link></li>
        <li><Link to='/contact-us'>Contact Us</Link></li>
      </ul>
      <Switch>
        {
          routes.map((route, index) => (
            <RouteMiddleware
              key={index}
              path={route.path}
              title={route.title}
              component={route.component}
              exact={route.exact}
            />
          ))
        }
      </Switch>
    </>
  );
}

export default App;
gtag.js event command
gtag('event', eventName, eventParameters);events ref:- https://developers.google.com/analytics/devguides/collection/gtagjs/events
page_view event ref:- https://developers.google.com/analytics/devguides/collection/gtagjs/pages
9. Finally start the project and open http://localhost:3000
npm startOpen analytics reports.
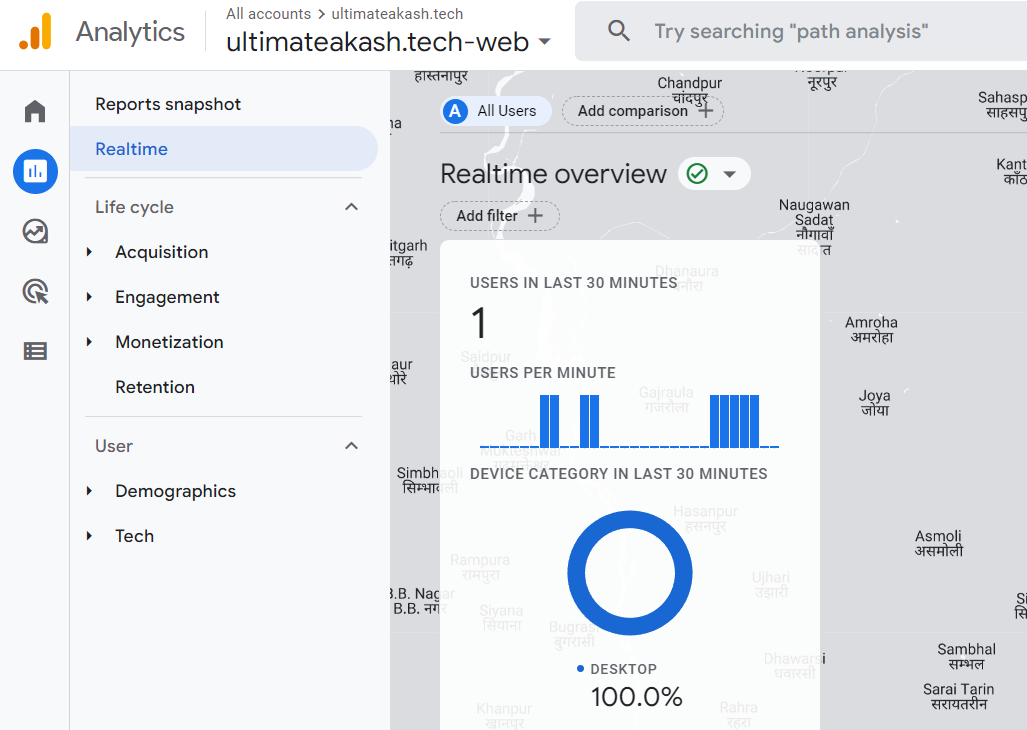

Checkout my full react-google-analytics example.
https://github.com/ultimateakash/react-google-analytics
If you facing any issues. don't hesitate to comment below.
Thanks.


Leave Your Comment